I remember walking into my living room one day, only to be met with the sight of bubbles of paint on the wall. It was honestly so frustrating because I had put so much effort into making that room exactly how I dreamed it would be. At that moment, I had no idea what was causing it, so I did some digging, figured out the problem, and fixed it. Now, I’m here to share everything I learned with you. Let’s break it down and dive into the details so you don’t have to go through the same stress I did!
What is Bubbling Paint?
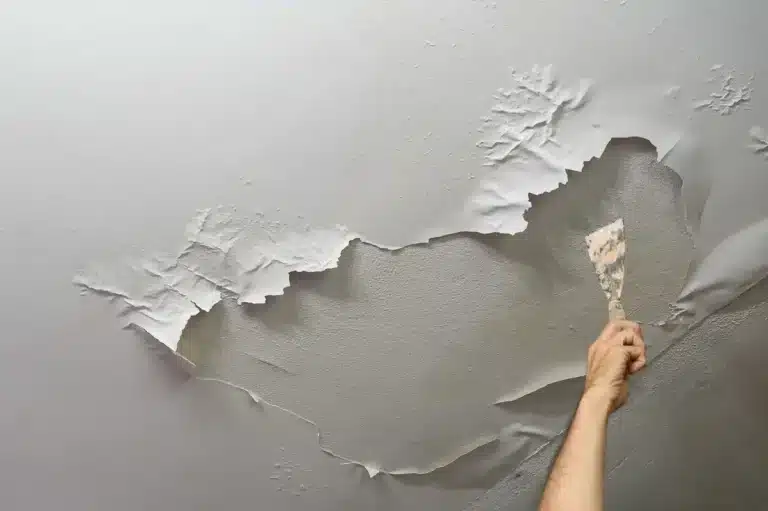
In simple words, paint bubbling occurs when the paint forms raised pockets or bubbles on the surface. These bubbles can be small or large, and they might pop or remain, creating an uneven texture on the wall. It’s like your paint decided to throw a little party, and now you’re left with the mess to clean up!
Here’s a quick breakdown of what might be going on:
- Bubbles in painting happen when air or moisture gets trapped underneath the paint.
- It happens because the paint is either too thick or applied incorrectly, or the wall wasn’t prepped well.
- Sometimes, it’s a sign of a deeper issue, like humidity or poor surface conditions.
Reasons for Bubbling Paint

Credit: linkedin.com
Now, you might be wondering, “Why does the paint bubble in the first place?” Well, paint bubbling on the ceiling or walls can be caused by a few common factors. It’s important to figure out the cause so you know exactly how to tackle the problem. Let’s break it down:
- Moisture Issues: Moisture is one of the biggest culprits of paint bubbles on the wall from moisture. It can sneak into your walls through leaks or high humidity, causing the paint to lift. This is a major reason why paint bubbling appears, especially in rooms like bathrooms or basements.
- Surface Preparation Problems: If your wall wasn’t cleaned or primed properly before painting, the paint won’t stick well. Dirt, grease, and even old peeling paint can cause bubbles in ceiling paint to form, leading to a bumpy finish.
- Painting in Humid or Wet Conditions: If you’re painting on a humid day or after a heavy rain, there’s a good chance the paint won’t dry properly. The moisture in the air can mix with the paint, causing bubbles in the paint when rolling. These bubbles can form even on walls and ceilings, not just on flat surfaces.
- Using Low-Quality Paint: Well, sometimes, the issue comes down to the type of paint you use. Cheap, low-quality paint may not adhere properly, resulting in paint bubbling on the ceiling or walls.
- Painting Over an Oil-Based Finish: If your wall was previously painted with an oil-based paint and you tried to go over it with water-based paint, the two may not bond well, leading to air bubbles in plaster or wall paint.
- Excessive Paint Layers: Too many layers of paint can cause the top layer to bubble because it takes longer to dry, trapping moisture underneath.
How to Fix Bubbling Paint

Credit: bobvila.com
Now that you know what causes bubbling paint, let’s talk about how to fix it. The good news is that it’s often an easy fix! Here are some simple steps you can take to get your walls looking perfect again.
- Identify the Problem: Start by figuring out the cause. If it’s a moisture problem, you’ll need to address that before doing anything else. Fixing wall water bubbles due to leaks will prevent the problem from recurring.
- Let the Paint Dry Completely: If the paint bubbled recently, give it some time to dry completely. Sometimes, moisture in the air or the wall can cause the paint to bubble before it’s fully set.
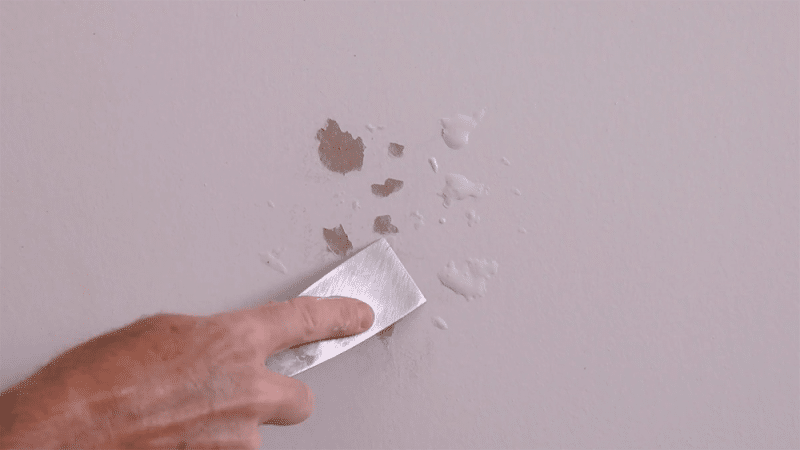
- Sand the Affected Area: Once the paint has dried, use fine-grit sandpaper to smooth out the bubbles. Be careful not to sand too aggressively, as you don’t want to damage the wall surface.
- Reapply Primer: If you’re dealing with a larger area, it might help to reapply primer before repainting. This ensures a smooth surface for the paint to adhere to.
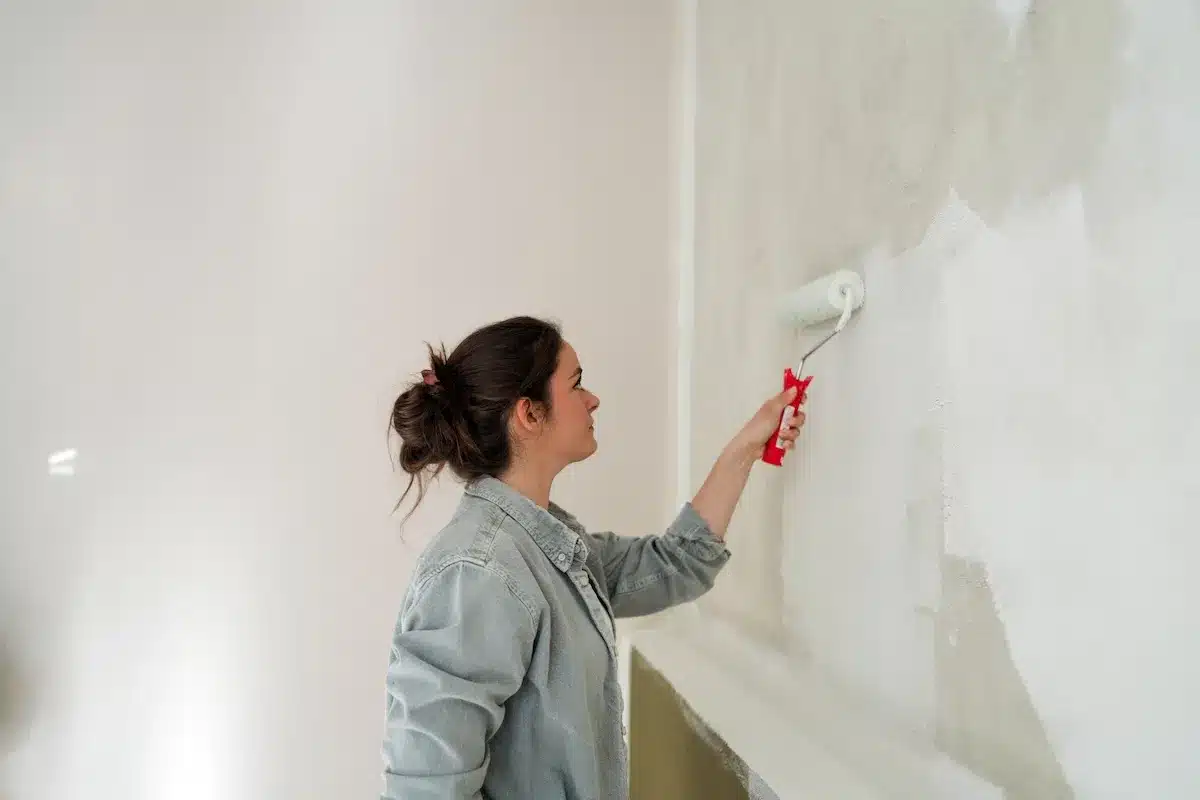
- Repaint the Area: After sanding and priming, you can repaint the affected area. Apply a thin, even layer of paint, and allow it to dry completely before adding another coat.
- Consider Using a Dehumidifier: If humidity is the problem, try using a dehumidifier to reduce moisture in the air while you repaint, especially if you have bubbles in ceiling paint.
How to Prevent Bubbling Paint

Credit: renaissancepainting.ca
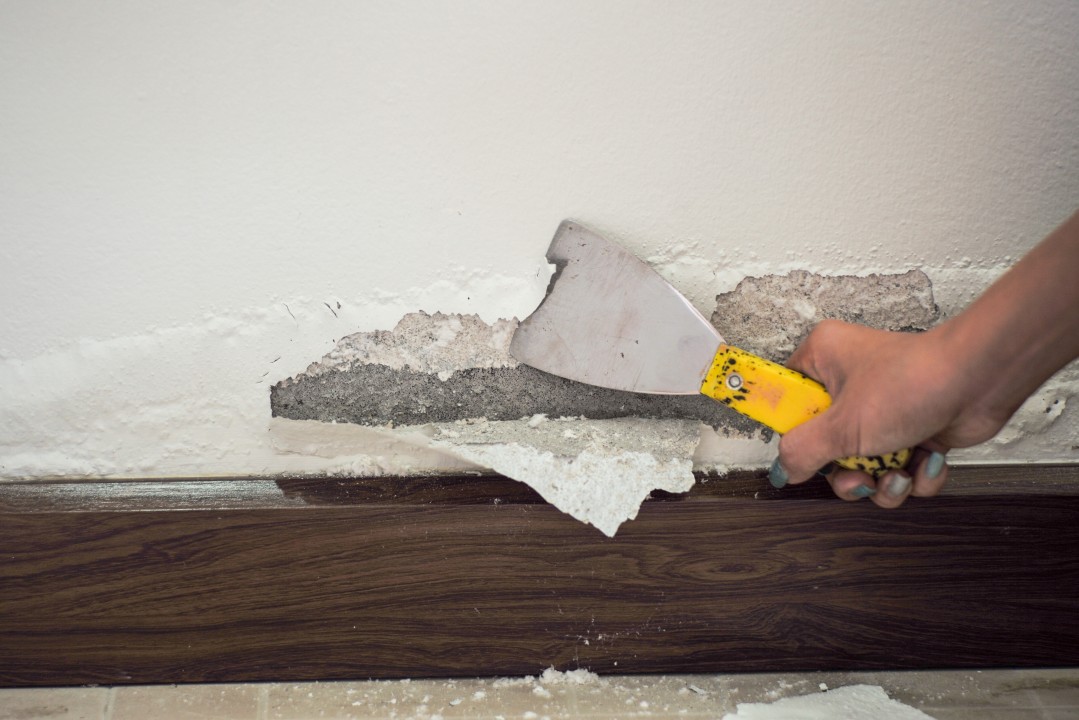
Alt Text: zoomed view of a hand scratching off bubbling paint
Preventing bubbling paint is all about proper preparation and care. You don’t want to end up with more bubbles in the painting down the road, so here are a few tips to keep your walls smooth and bubble-free:
- Properly Prep Your Walls: Clean and prime your walls before painting to create a solid base for the paint to adhere to.
- Avoid Painting in Humid Conditions: Try to paint on a dry, calm day. If possible, avoid painting when it’s too hot or humid to prevent bubbles in paint when rolling.
- Use High-Quality Paint: Invest in good paint that will stick better and last longer.
- Allow Paint to Dry Properly: Make sure each layer of paint is completely dry before adding more.
- Fix Moisture Issues Early: Address any leaks or moisture problems before you start painting to avoid paint bubbles on the wall from moisture.
Ending Remarks
In a nutshell, paint bubbling on walls and ceilings can be frustrating, but with the right knowledge and tools, it’s something you can definitely fix yourself.
Frequently Asked Questions
Have questions about bubbling paint on the wall? Let’s answer your questions.
How do I know if moisture is the cause of the bubbling paint?
Look for signs of water damage on your walls, like discoloration or mold. If the wall feels damp or there’s visible water, moisture is likely the cause of paint bubbling.
Can I fix bubbling paint without sanding?
Sanding is the most effective way to smooth out the paint bubbles on the wall. However, if the bubbling is minor, you might be able to touch it up with just a coat of primer and paint.
Is it safe to paint over bubbling paint?
It’s best not to paint over bubbling paint without fixing the underlying issue. Simply painting over it will likely result in the bubbles reappearing.
How long should I wait before repainting after fixing the bubbles?
Allow the wall to dry completely after sanding and priming. Typically, this takes 24 hours, but check to ensure it’s completely dry before applying more paint.
Can I use a fan to speed up the drying process?
Yes, using a fan can help the paint dry faster, but be sure it’s not blowing directly onto the freshly painted surface to avoid dust and debris from sticking.

