Have you ever stepped back to admire your freshly painted walls, only to be greeted by unsightly bubbles in the paint on the wall? Paint bubbling or blistering is a common problem that can transform a flawless finish into an eyesore, diminishing the overall aesthetic of your living space. Understanding the underlying causes of this issue is crucial for effective resolution. However, fear not—this article provides you with easy and effective methods to repair those pesky imperfections and ensure your walls look their best. From identifying the problem areas to selecting quality paint and mastering proper application techniques, you’ll be equipped with the knowledge needed to maintain beautiful and smooth surfaces in your home. Let’s dive in and discover how to restore your walls to their original glory.
Understanding the Causes of Paint Bubbling

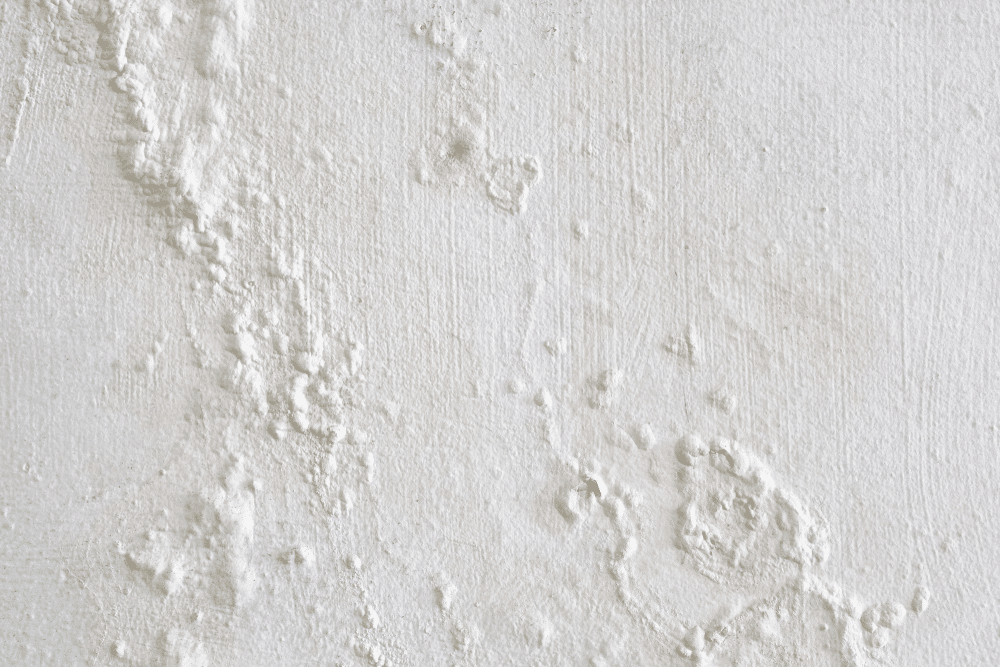
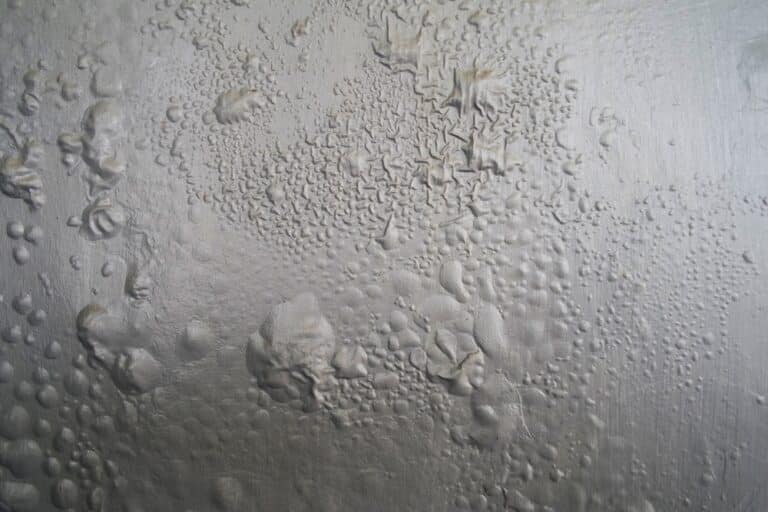
Before diving into the solutions, it’s crucial to understand why paint is bubbling on wall surfaces. Bubbling or blistering can occur for several reasons, including:
High Humidity
When the air is excessively humid, it can cause moisture to accumulate beneath the painted surfaces, leading to bubbles in paint on wall.
Improper Surface Preparation
If the wall isn’t adequately cleaned or primed, the paint may not adhere correctly, resulting in paint bubbling on plaster walls or other surfaces.
Moisture Damage
Paint bubbling on wall water damage occurs when moisture penetrates through the paint layer, causing it to lift.
Type of Paint
The type of paint used can also play a role. Oil-based paint and latex paint behave differently when exposed to humidity or improper conditions.
Old Paint Layers
If you are painting over old layers that haven’t been adequately sanded or cleaned, you might encounter bubbling of paint on walls.
Understanding these causes can help you prevent paint bubbling and ensure a smoother application in the future.
Step-by-Step Guide to Fixing Paint Bubbling

Identify the Problem Areas
Start by inspecting your painted walls for any signs of bubbles on wall when painting. Look for areas that have noticeable bubbling paint and assess their severity. If the bubbles in paint on wall are small, you might be able to fix them with minimal effort. However, if the bubbling paint on plaster walls is extensive, more significant repairs may be necessary.
Gather the Supplies
Before starting the repair process, ensure that the area is clean and free from debris. Gather the necessary tools and materials, including:
- Sandpaper (fine and medium grit)
- Putty knife
- Primer
- Quality paint (latex or oil-based, depending on the existing paint)
- Paintbrush or roller
Remove the Bubbling Paint
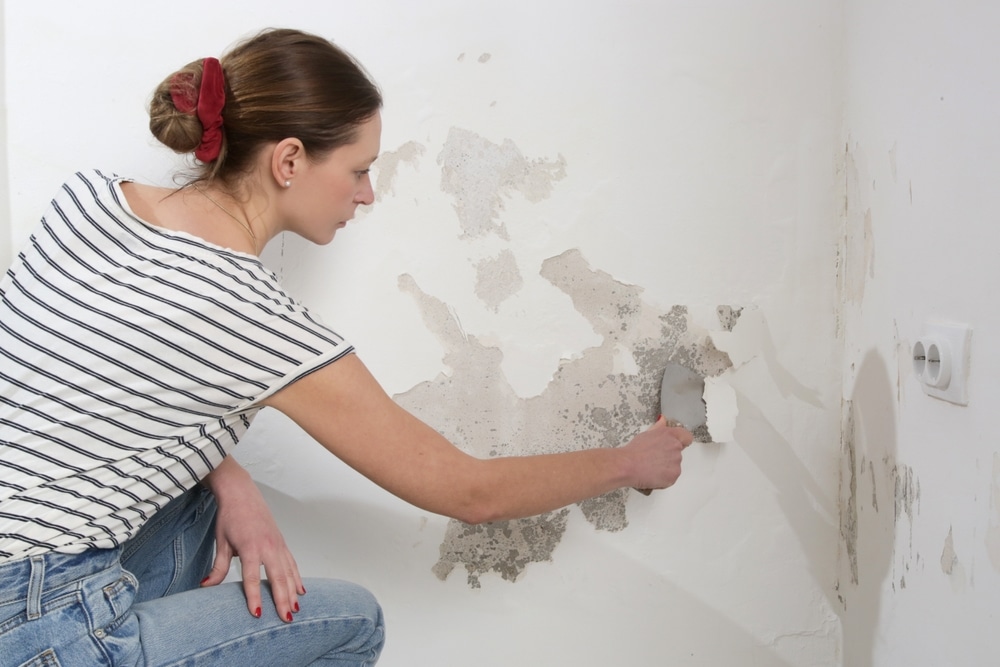
Using a putty knife, gently scrape away the bubbling paint. Be careful not to damage the underlying surface. If the paint bubbles on the wall are extensive, you may need to remove larger sections of painted surfaces to ensure proper adhesion of the new paint.
- Use a Utility Knife Scraper to carefully cut into the bubbled area with a utility knife or scraper. Be cautious not to damage the underlying wall surface. Remove the bubbled paint, exposing the area underneath.
- After removing the bubbled paint, clean the area with a damp cloth to remove dust and debris. If moisture is present, allow the area to dry completely before proceeding.
Prepare the Area
Proper surface preparation is key to achieving a long-lasting repair. Follow these steps:
- Use sandpaper to smooth the edges of the area where you removed the bubbled paint. This helps the new paint adhere better and prevents further bubbling.
- If the area is large or if you’ve exposed bare wall material, applying a primer is essential. Primer helps seal the surface, creating a good foundation for paint. Choose a primer that is suitable for the type of paint you’ll be using.
Clean the Area
Once sanding is complete, clean the area with a damp cloth to remove any dust or debris. This step is vital to ensure that the new paint adheres properly. Allow the surface to dry completely before moving on to the next step.
However, if your painted walls become dirty with everyday dirt, fingerprints, and stains, discover how to clean painted walls to make them shine like new.
Prime the Surface
If you have removed a significant amount of paint or if the area is exposed to drywall or plaster, apply a primer to the repaired section. Priming helps to seal the surface and provides a better bond for the type of paint you plan to use. Choose a quality primer suitable for the specific type of paint you’re using (latex or oil-based).
Apply Paint

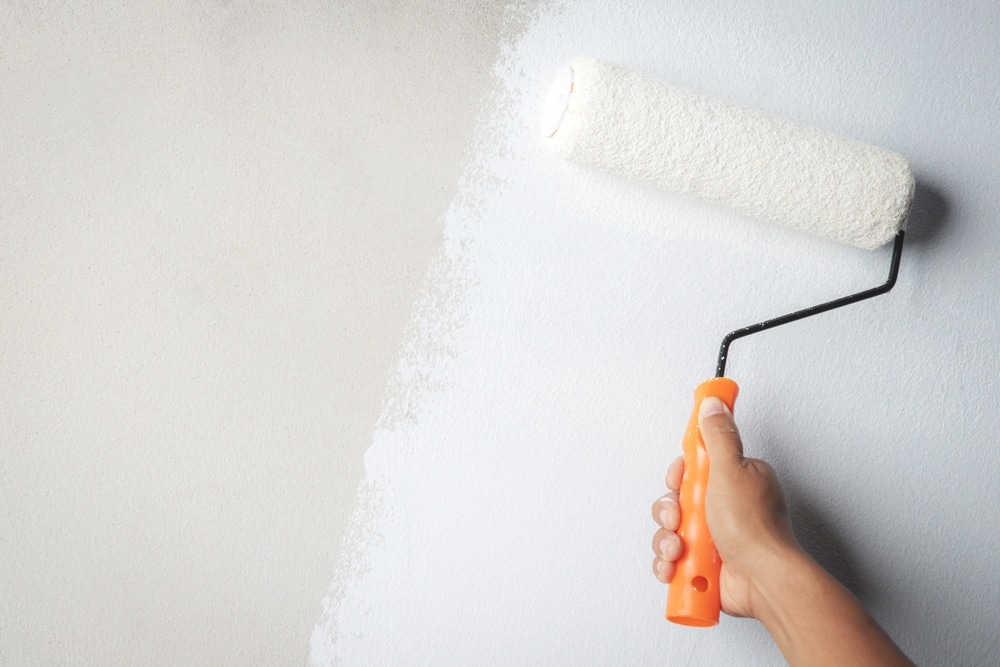
Once the primer has dried (check the manufacturer’s instructions for drying time), it’s time to apply paint. Use a high-quality latex paint or oil-based paint based on the original paint type. If you are unsure, check the label of the existing paint or test a small area to determine compatibility.
When applying the paint, use smooth, even strokes to ensure a uniform finish. If necessary, apply a second coat after the first coat has dried completely.
Allow Paint to Dry Completely
After applying the new paint, allow it to dry completely before touching or placing objects against the wall. This drying time varies depending on the type of paint and environmental conditions.
Monitor for Recurrence
After the paint has dried, keep an eye on the repaired area to ensure that paint bubbling doesn’t return. If you notice bubbling or blistering again, it may indicate an underlying issue, such as moisture problems that need to be addressed before repainting.
Preventing Future Paint Bubbling
To avoid painting issues in the future, consider the following preventive measures:
Check Humidity Levels
Always monitor the humidity levels in your home, especially before painting. Aim for a humidity level below 50% to reduce the risk of paint bubbling on plaster walls.
Choose the Right Paint
Use high-quality quality paint designed for the specific environment (kitchen, bathroom, etc.). Look for oil-based paints or latex paint that offers better adhesion and moisture resistance.
Proper Surface Preparation
Ensure walls are cleaned, primed, and prepped before applying any paint. This will promote better adhesion and reduce the likelihood of bubbles in the paint on the wall.
Fix Moisture Issues
Address any sources of water damage or leaks in your home. If water is seeping through the walls, it can cause paint on wall is bubbling and other related problems.
Timing Your Painting Jobs
Avoid painting during high humidity days. If possible, choose a dry season to carry out paint jobs to ensure optimal conditions for the paint dries properly.
Conclusion
Dealing with paint bubbling on wall surfaces can be a straightforward process when approached correctly. By understanding the causes and following the steps outlined above, you can effectively repair any issues and prevent them from occurring in the future. Whether you are dealing with bubbling paint on plaster walls or just want to maintain the integrity of your painted surfaces, taking the time to prep, choose the right materials and monitor conditions will lead to beautiful, long-lasting results. With these strategies, you’ll be well on your way to achieving a flawless finish that enhances your home’s aesthetic and durability.

