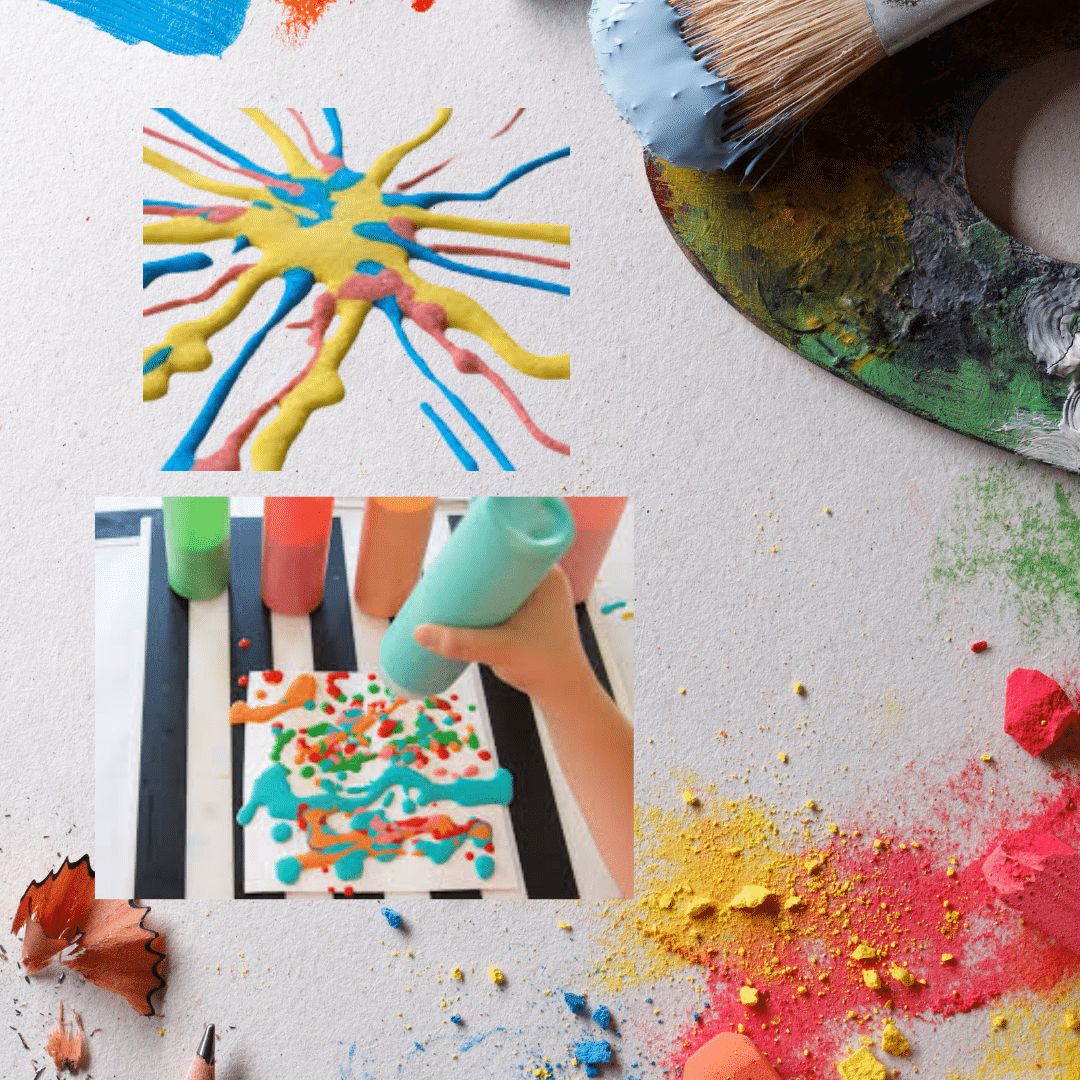
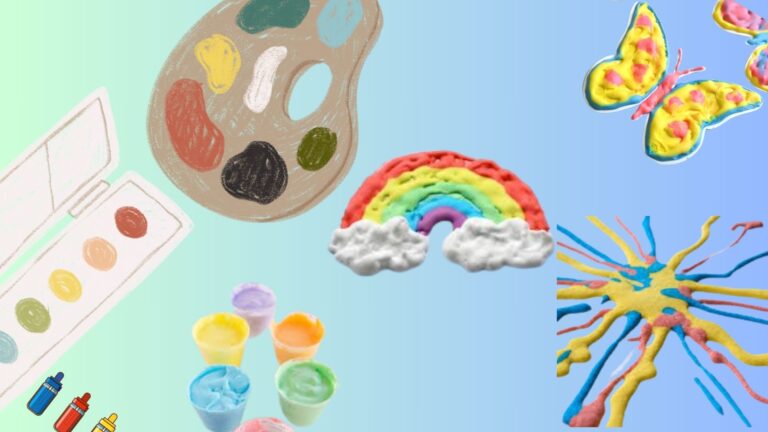
Puffy paint is a crafting material that brings creativity to life with its unique, raised texture. Whether you’re a seasoned artist or a parent looking for fun activities with your kids, puffy paint offers endless possibilities for adding a playful, three-dimensional touch to your projects. From vibrant artwork on construction paper to decorating fabric or even crafting homemade window clings, puffy paint transforms simple ideas into tactile masterpieces. The best part? You don’t need any fancy supplies—just a few simple ingredients and a little imagination. In this guide, we’ll explore the world of puffy paints and provide you with the tips, DIY puffy paint recipes, and creative ideas you need to get started.
How to Make Puffy Paints At Home

Before diving into the creative possibilities, let’s start with the basics how to make puffy paints at home. The great news is that puffy paints can be easily made at home with a few simple ingredients. There are various DIY puffy paint recipes, but most involve common household items.
Here’s a basic puffy paint’s recipe:
- 1/4 cup of shaving cream
- 1/4 cup of school glue
- A few drops of food coloring or food coloring
- 1/4 cup of flour (to thicken the paint) Optional
Steps
- To create your homemade puffy paints, simply mix the shaving cream, school glue, and food coloring in a bowl.
- Stir the ingredients until they are thoroughly combined.
- If you want a thicker consistency, you can add a bit of flour.
- Once you’ve achieved the desired texture, your DIY puffy paint is ready to use.
This puffy paint’s recipe is simple enough that kids can help make it, making it an excellent family activity.
Creative Ideas and Uses for Puffy Paints

Personalize Clothing and Accessories
Puffy paint isn’t just for paper it can also be used to decorate fabric items like t-shirts, tote bags, and pillowcases. Squeeze the puffy paints directly onto the fabric to create your designs. You can use squeeze bottles filled with DIY puffy paint for precise application. After decorating, allow the paint to dry completely before wearing or washing the fabric. The dry, puffy effect of the paint adds a playful touch to your clothing and accessories.
Making Puffy Paint Ice Creams
Looking for a fun, food-themed craft? Try making puffy paints ice creams! To do this, cut out ice cream cone shapes from construction paper. Then, use your homemade puffy paint to create the ice cream scoops on top of the cones. You can use different colors of food coloring to make a variety of “flavors.” The puffy texture of the paint will make the ice cream scoops look almost good enough to eat! This activity is perfect for kids’ parties or summer-themed crafts.
DIY Puffy Paints Window Clings
Did you know you can make your own window clings using puffy paints? To do this, draw your design on a sheet of plastic (such as a page protector or a ziplock bag). Once the design is complete, let the puffy paint dry completely. After drying, carefully peel the design off the plastic—it should come off easily. Now, you can stick your homemade window cling to any glass surface! This project is a great way to create seasonal decorations or personalize your windows.
Puffy Paint Art on Paper
One of the most common uses for puffy paints is creating puffy paint art on paper. Construction paper works well for this purpose because it’s sturdy enough to hold the puffy texture without warping. Simply use a paintbrushes or finger paint to apply the puffy paint to the paper. You can experiment with different colors and patterns to create vibrant 3D artwork. For example, you can use puffy paints to create raised letters and numbers, making learning more interactive and fun. The raised texture helps children with sensory processing, and the bright colors make learning more engaging.
Make Puffy Paint Jewelry
For a truly unique accessory, try making puffy paint jewelry. You can create custom pendants, earrings, or even bracelets by applying puffy paints to a sturdy surface like metal, glass, or wood. Once the paint is dry, it creates a raised, textured effect that looks great on jewelry.
3D Greeting Cards
Take your greeting cards to the next level by adding puffy paints accents. Whether it’s a birthday, holiday, or thank-you card, puffy paint can add a 3D effect that makes your cards stand out. Use the puffy paints to draw balloons, flowers, or any other decorative elements on the front of the card. The puffy texture adds a tactile element that recipients will love.
Puffy Painting: Tips and Tricks

Surface Preparation
Make sure the surface you’re working on is clean and dry. For fabric projects, pre-wash the fabric without fabric softener to remove any sizing or chemicals that might interfere with the paint’s adhesion.
Using Ziplock Bags for Precision
If you’re looking for more control over your puffy paint’s application, try using ziplock bags. Simply fill a ziplock bag with puffy paint, then cut a small hole in one corner.
Mixing Colors
Experiment with mixing different colors of food coloring to create custom shades of puffy paints.
Practice First
If you’re new to puffy paints, practice on a scrap piece of fabric or paper before working on your final project. This will help you get a feel for the paint’s consistency and how it flows.
Storage
Store your puffy paint bottles upright and keep the caps tightly sealed to prevent the paints from drying out. If the nozzle becomes clogged, use a pin or needle to clear it.
Drying Time
Puffy paint takes several hours to dry completely, depending on the thickness of the application. Allow your projects to dry undisturbed in a safe place where they won’t be touched or moved.
Heat Setting
For fabric projects, heat-setting the paint with an iron (using a pressing cloth) can help make the design more durable and washable.
Conclusion
Puffy paint is a fantastic medium for unleashing your creativity. Whether you’re personalizing clothing, making jewelry, or crafting with kids, the possibilities are endless. With these tips and ideas, you’re ready to start exploring the many ways you can use puffy paints in your creative projects. So grab your favorite colors and get started—your next masterpiece is just a squeeze away!

