Who doesn’t love the magic of a rainbow? Its vibrant colors and graceful arc across the sky are enough to brighten anyone’s day. Now imagine capturing that beauty on canvas—no rain required! Creating a rainbow painting is a fun and fulfilling artistic endeavor. Whether you’re an experienced artist or just picking up a paintbrush for the first time, creating a stunning rainbow painting is the perfect way to express your creativity. With a splash of color and a few easy techniques, you can transform a blank canvas into a radiant masterpiece that’s as joyful as the real thing. Let’s dive in to bring your rainbow to life.
Materials You’ll Need

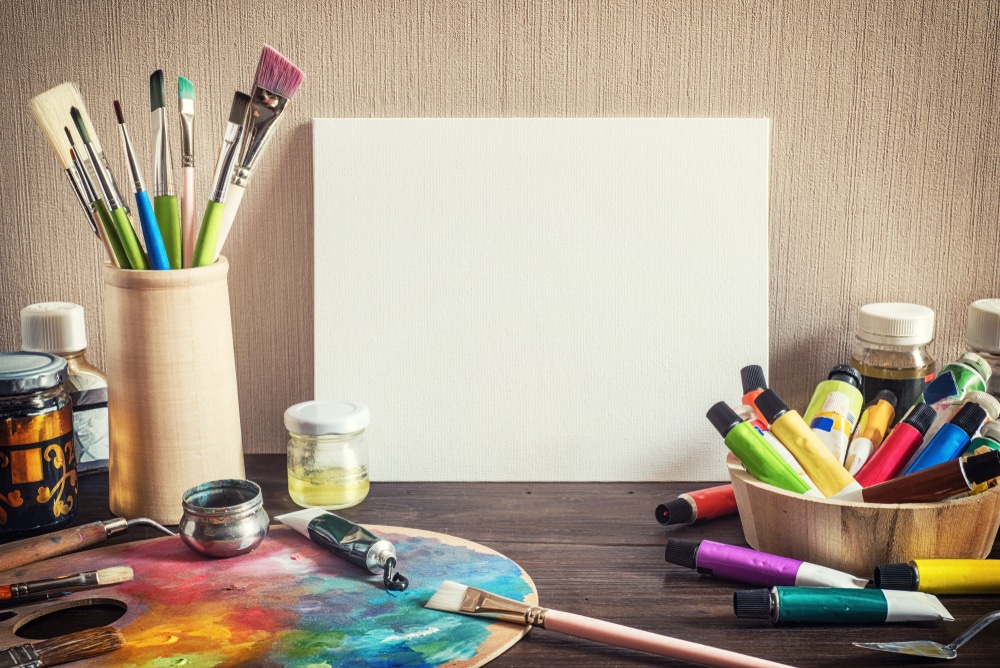
To start, gather these supplies:
- Canvas or paper (any size you prefer)
- Acrylic or watercolor paints in red, orange, yellow, green, blue, indigo, and violet
- Paintbrushes (flat and round)
- Palette for mixing colors
- Water container for cleaning brushes
- Painter’s tape (optional for clean edges)
- Pencil and ruler (optional for sketching)
Step 1: Prepare Your Canvas
Choose your background. If you want a sky-like effect, paint the background light blue and let it dry. For a clean edge, use painter’s tape around the border of your canvas.
Step 2: Sketch the Rainbow
A classic painted rainbow includes seven colors: red, orange, yellow, green, blue, indigo, and violet (ROYGBIV). Lightly sketch an arc or a series of arcs for the rainbow using a pencil. This will serve as your guide for the colors. If you’re feeling confident, you can skip this step and paint freehand.
Step 3: Start with the Background
Begin by painting the background. A soft gradient, transitioning from light blue at the top to a gentle green at the bottom, works well to mimic the sky. Use broad brushstrokes and blend colors smoothly to create a serene backdrop for your painting a rainbow masterpiece.
Step 4: Paint the Rainbow Colors
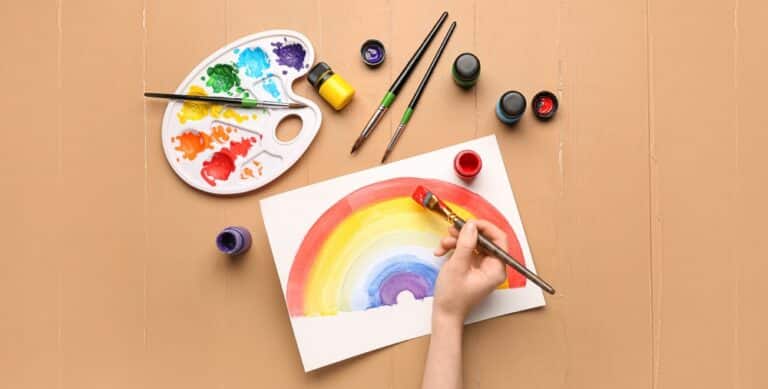
Start with red at the top arc of your rainbow. Use a flat brush for even strokes. Rinse your brush and move to orange, blending slightly with the red to create a seamless transition. Repeat the process for yellow, green, blue, indigo, and violet.
Tips for a Smooth Blend
- Use a slightly damp brush to soften the edges between colors.
- Work quickly while the paint is still wet to achieve better blending.
- If using watercolors, let the water guide the flow of colors for a more organic effect.
Step 5: Add Depth and Texture
To make your rainbow more realistic, add a soft white glow around the arcs. Use a dry brush or sponge to lightly apply white paint in circular motions. For a dreamy touch, add clouds at the base of the rainbow using a fluffy brush and white paint. If you’re aiming for a double rainbow, you’ll paint a second arc with the colors in reverse order. This natural phenomenon can add depth and interest to your rainbow painting. Use diluted paint or lighter tones for this effect.
Step 6: Experiment with Styles
Channel your inner Paul Klee by experimenting with abstract techniques. Instead of following the traditional arcs, you might incorporate geometric shapes or fragmented lines to represent the rainbow painting in a modern, artistic way. Alternatively, you could blend the colors together for a dreamy, impressionistic effect.
Step 7: Add Final Details
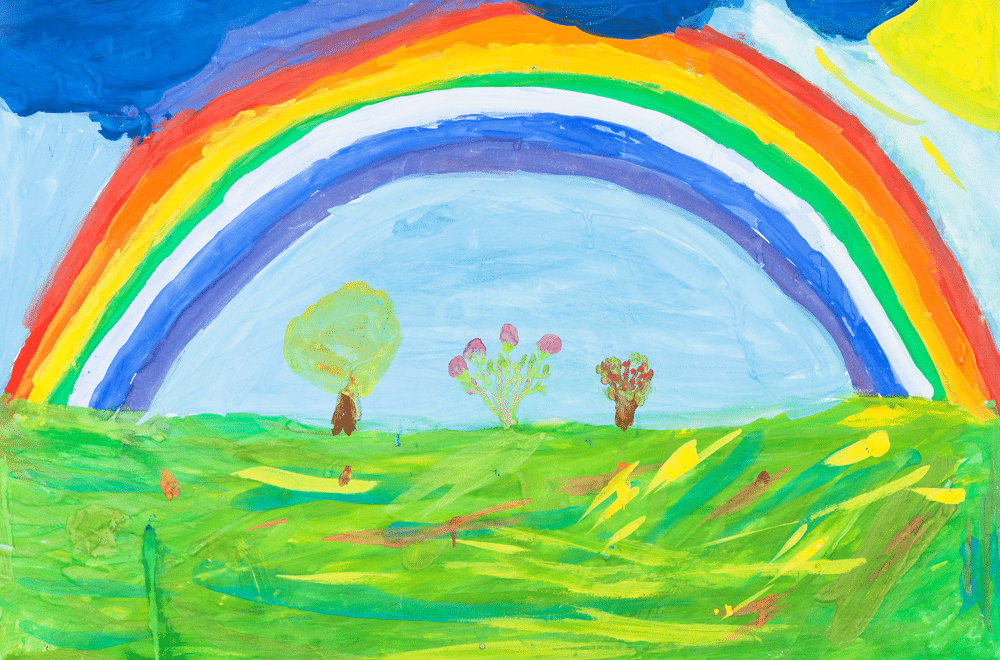
Once your rainbow painting is complete, enhance it with details like fluffy white clouds, a glowing sun, or even a whimsical landscape. Consider adding a landscape below the rainbow, such as rolling hills or a shimmering lake. For a magical feel, paint tiny stars or sparkles around the rainbow using a fine-tipped brush and white paint.
Step 8: Let It Dry
Allow your painting to dry completely. Acrylic paints dry faster than watercolors, but waiting ensures no smudging.

Step 9: Frame or Display Your Work
Once your painting is dry, you can frame it or hang it as is. Your painted rainbow is now ready to brighten up any space! Frame it or hang it as-is to enjoy the vibrant colors and positive energy of your painting rainbow masterpiece.
If you want to capture the beautiful transition of the summer season to autumn, then add magic to your canvases with inspiring fall painting ideas to add warmth and splendor of autumn to your indoors.
Bonus Tips
- Experiment with different techniques, like sponging or using a palette knife for texture.
- Use metallic or glitter paints to make your rainbow shine.
- If you’re painting with kids, let them explore with finger-painting for a fun and tactile experience.
Conclusion
Creating a stunning rainbow painting is a rewarding artistic journey that allows you to explore the vibrant interplay of colors and express your creativity. By mastering the techniques of painting a rainbow and drawing inspiration from the abstract works of artists like Paul Klee, you can transform a simple idea into a captivating piece of art. Whether you choose a traditional painted rainbow, experiment with modern interpretations, or incorporate the ethereal beauty of a double rainbow, your painting of a rainbow will undoubtedly bring joy and inspiration to those who view it. So gather your materials, unleash your creativity, and let the magic of painting rainbow scenes brighten your artistic repertoire.

